Table of Contents
- Know Your Canvas: Standard Garage Dimensions
- Floor Plan 1: The Half-and-Half (Train in One Bay, Park in the Other)
- Floor Plan 2: The Full Conversion (No Cars, Maximum Gym)
- Floor Plan 3: The 1-Car Garage
- The Overhead Problem: Racks, Door Tracks, and Ceiling Height
- Flooring: Mats First, Platform Second
- Walls Are Storage. The Floor Is for Training.
- Climate: The Difference Between a Gym and a Storage Unit
- Draw It Before You Buy It
- Garage Gym Layout FAQ
- The Bottom Line
Quick Answer: Think in bays. One bay — a single car's footprint, roughly 10 feet wide by 20 feet deep — is enough for a complete strength gym: rack against the back wall, lifting area in front of it, storage on the walls. A 2-car garage (typically 20x20 to 24x24 feet) gives you two bays: train in one and keep parking in the other, or convert both and add dedicated cardio and accessory zones. Before you buy a rack, measure to your lowest overhead obstruction — the garage door tracks and opener rail, not the ceiling.
Every garage gym layout decision comes down to one question: how many bays are you giving to the gym?
A bay is one car's worth of floor — about 10 feet wide and 18-20 feet deep. It is the natural planning unit for a garage gym floor plan because garages are built, plumbed, and wired around it. Once you decide "the gym gets one bay" or "the gym gets everything," the rest of the layout almost draws itself.
This guide covers the three floor plans that work — half-and-half, full conversion, and the 1-car layout — plus the overhead-clearance problem, slope, flooring, storage, and climate. If you are specifically working with a single-car garage, the single-car garage gym layout guide goes deeper on that narrow footprint, including the park-and-pump workflow.
The core kit, linked:
- Power rack: the Sunny SF-XF9931 from Best Budget Power Racks is rated to 800 lb. Sharing a bay with the car? The PRx Profile folding rack folds up against the wall.
- Flooring: 3/4" rubber stall mats over the training zones. The horse stall mat guide covers where to buy them cheaply.
- Insulation: a garage door insulation kit is the cheapest climate fix, about an hour to install.
- Winter heat: the Heat Storm infrared wall heater runs on a standard 120V outlet and warms the lifting zone. How to Heat a Garage Gym Without Blowing a Breaker explains the outlet limits.
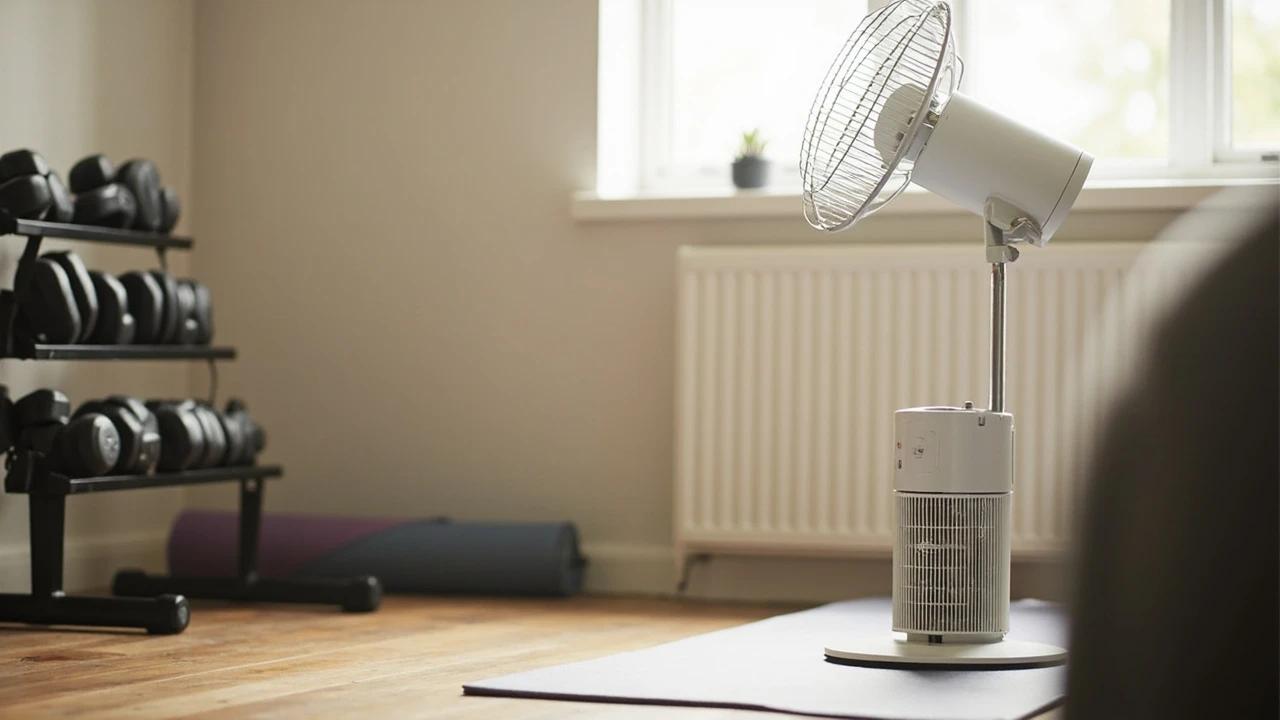
- Summer air: the Lasko Wind Machine 3301 is the top pick in Best Fans for a Garage Gym.
Know Your Canvas: Standard Garage Dimensions
| Garage | Typical size | Floor area | What realistically fits |
|---|---|---|---|
| 1-car | 12x20 to 14x22 ft | 240-310 sq ft | Full strength gym, no parking |
| 1.5-car | 16x22 ft | ~350 sq ft | Strength gym plus a parked compact car (tight) |
| 2-car | 20x20 to 24x24 ft | 400-575 sq ft | Gym plus parking, or a full gym with cardio and accessory zones |
Three measurements decide your entire garage gym layout. Take them before you shop:
- Width, wall to wall. Shelving, water heaters, and stairs steal more width than you think. Measure the clear width.
- Depth, door to back wall. A barbell area needs about 10 feet of depth once you account for the rack and room to move around it.
- Height to the lowest obstruction. Not the ceiling — the garage door tracks, the opener rail, the spring bar, the lowest duct. This number, not ceiling height, determines what rack you can buy and where it can stand.
Bar math worth memorizing: a standard Olympic barbell is just over 7 feet long (about 86-87 inches). To load plates on both sleeves without scraping a wall, you want roughly 10 feet of clear width. That is one bay. This is why the bay system works.
Floor Plan 1: The Half-and-Half (Train in One Bay, Park in the Other)
The most popular 2-car garage gym layout, and the easiest to get spousal approval for: the car keeps its spot, the gym gets a permanent home, and nobody negotiates every morning.
The floor plan:
- Back wall of the gym bay: power rack, centered on the bay. Centering leaves plate-loading clearance on both sides.
- In front of the rack: an 8x6 ft lifting area — bench work, deadlifts, rows all happen here.
- Side wall of the gym bay: plate storage, bar storage, and bench parked vertically. Everything on the wall, nothing creeping toward the car.
- The dividing line: leave a 3-foot buffer between your lifting area and the parked car. That is the car's door swing plus walking room. Mark it with the edge of your mats — rubber on the gym side, bare concrete on the car side.
Unlike a shared single-car garage, you do not need a folding rack here — the training bay is permanently yours. But if you want the whole garage back occasionally (house guests, a second car in winter), a folding wall-mount squat rack stows 4-5 inches off the wall and turns the half-and-half into a fully reversible arrangement.
Who this fits: lifters whose main work is barbell strength training. You get a complete gym in ~200 sq ft and lose nothing from the household.
Floor Plan 2: The Full Conversion (No Cars, Maximum Gym)
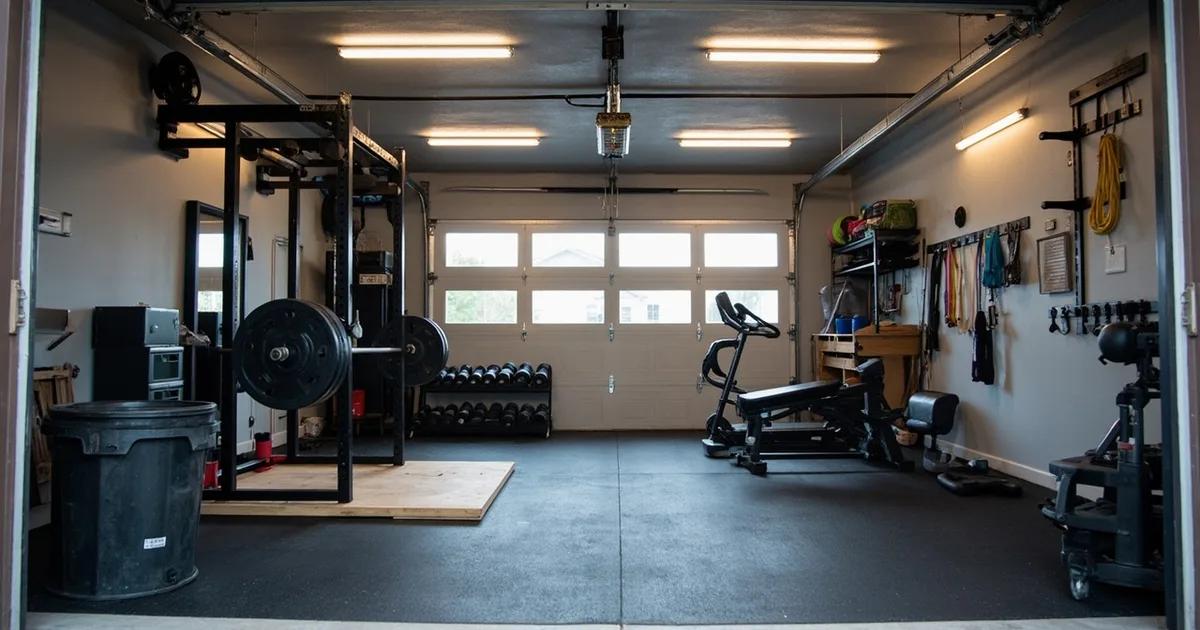
Both cars move to the driveway and you get a genuine 400+ sq ft training facility — more floor than many boutique studios give a class of twelve.
The floor plan, zone by zone:
| Zone | Location | Size | What goes there |
|---|---|---|---|
| Heavy zone | Back wall, one bay | ~120 sq ft | Rack, barbell, platform |
| Free-weight zone | Back wall, other bay | ~80 sq ft | Dumbbell rack, adjustable bench, kettlebells |
| Cardio zone | Front corner, near the door | ~60 sq ft | Treadmill, rower, or bike |
| Open lane | Center, door to back | ~100 sq ft | Sled pushes, lunges, jump rope, warm-ups |
| Storage | Perimeter walls | 0 sq ft of floor | Plates, bars, bands, mats — all vertical |
Two rules make this layout work:
- Keep the center lane open. The instinct is to fill the middle with equipment. Resist it. A clear 4-foot lane from the garage door to the back wall is the most-used "equipment" in the gym — every carry, lunge, and warm-up lives there, and the open floor is what makes the space feel like a facility instead of a storage unit.
- Cardio goes by the door. Roll the door up mid-session and you get fresh air and daylight for the sweatiest part of training — and machines near the door are easiest to slide out to the driveway for outdoor sessions.
Floor Plan 3: The 1-Car Garage
One bay, everything in it. The short version: rack centered on the back wall, storage up one side wall, cardio and warm-up space by the door, and a decision to make about whether the car still parks inside.
The narrow footprint changes enough of the details — folding-rack workflow, slope handling, wall-storage discipline — that it has its own guide: Garage Home Gym Layout for a Single-Car Garage.
The Overhead Problem: Racks, Door Tracks, and Ceiling Height
More garage gym layouts die from overhead clearance than from floor space. The garage ceiling might be 9 feet, but the door tracks hang below it, the opener rail runs right down the center line, and the spring bar crosses the front wall.
Rack height guidance:
| Rack type | Typical height | Works under |
|---|---|---|
| Full-size power rack | 80-93 in | 8 ft+ clear height |
| Short/compact rack | 72 in or less | Low-clearance spots, ~6.5 ft |
| Folding wall-mount rack | 80-90 in (wall-set) | Between or behind door tracks |
| Squat stands | 70-72 in | Almost anywhere |
Three placement tricks:
- Put the rack where the tracks are not. Door tracks run along the sides of the door opening toward the middle of the garage. The back third of most garages is track-free — which is exactly why the rack belongs on the back wall.
- Check the opener rail. It runs down the center of the ceiling. If your rack (or your overhead press) lines up with it, shift the layout 2 feet left or right.
- Overhead press check: a 6-foot lifter pressing overhead needs about 90-100 inches of clearance. If you do not have it inside, press outside the door in the driveway — the roll-up door is the best "high ceiling" a home gym ever gets.
Here is a full 2-car conversion done well — worth watching for the wall-storage and zone decisions alone:
Flooring: Mats First, Platform Second
Garage floors are concrete (good — it will never flex under a loaded rack) and sloped (bad — about 1/8 inch per foot toward the door, so water drains out).
- Layer 1: 3/4-inch rubber stall mats over the training zones. They protect the slab, quiet the noise, and stop bars from denting concrete. The horse stall mats guide covers sourcing them cheaply and dealing with the rubber smell.
- Layer 2: if you deadlift, build a leveled lifting platform to cancel the slope — a weekend plywood project covered in the cheap home gym flooring guide. A rolling bar on a sloped floor is an annoyance; a squat on a slope is a knee problem accumulating interest.
- Where the car parks: keep rubber off the parking side. Hot tires and rubber mats are a bad mix — bare concrete or containment mats there instead.
Walls Are Storage. The Floor Is for Training.
The single biggest layout upgrade in any garage gym costs about $100: get everything off the floor.
- Plates on wall-mounted pegs, not a floor tree.
- Bars in vertical or horizontal wall hangers.
- Bands, ropes, and belts on a rail of hooks.
- Bench stored on end in a corner (or wall-hung brackets) between sessions.
Every square foot of floor you clear is a square foot of training space you just bought for the price of a lag bolt. The vertical storage guide covers the systems, and the wall-mounted equipment roundup covers training gear that lives on the wall entirely.
Climate: The Difference Between a Gym and a Storage Unit
An uninsulated garage is 100 degrees in July and 35 in January, and that — not motivation — is what kills most garage gym habits by month three.
The escalation path, cheapest first:
- Garage door insulation kit (~1 hour to install): foam panels cut to fit the door sections. Expect summer temps to drop noticeably — this is the highest-value hour you will spend on the space. Pair it with weather stripping around the frame. (garage door insulation kit)
- Air movement: a properly sized fan makes 85 degrees trainable. The garage gym fan guide breaks down drum fans vs. wall-mount vs. shop fans by garage size and noise.
- Lighting while you are at it: two rows of linkable LED shop lights down the ceiling. One bare bulb makes a dungeon; 8,000+ lumens makes a facility.
- The endgame: a mini-split heat pump for real heating and cooling. It is a $1,000-2,000 decision — worth it once the garage is your permanent gym, overkill before then.
Draw It Before You Buy It
Layout mistakes are expensive in a garage because everything is heavy. The rack you placed under the opener rail, the bench that blocks the car door, the treadmill that traps the mower — all avoidable on paper.
The fastest way to test a garage gym floor plan is the free 3D gym planner: set your garage dimensions, drag real-footprint equipment around the room, and see what actually fits before you spend anything. Ten minutes in the planner beats a weekend of re-arranging iron.
Garage Gym Layout FAQ
Is a 2-car garage big enough for a full home gym? Easily. At 400-575 sq ft you have room for a rack, platform, dumbbell zone, dedicated cardio corner, and an open training lane — with square footage to spare. Space stops being the constraint; climate and clearance become the real problems to solve.
Can I still park a car in a 2-car garage gym? Yes — that is the half-and-half floor plan above. Keep a 3-foot buffer between the mats and the car for door swing, keep rubber flooring off the parking side, and consider a folding rack if you ever need the full garage back.
What ceiling height do I need for a power rack? A full-size rack (80-93 inches) wants 8 feet of clear height — measured to the lowest obstruction (door tracks, opener rail), not the drywall. Under that, use a short rack (72 inches or less) or squat stands, and do overhead pressing in the open doorway.
Where should the rack go? Back wall, centered on its bay. The back third of the garage is free of door tracks, the wall anchors bolt-down stability, and centering the rack in the bay leaves plate-loading room on both sides.
The Bottom Line
A garage gym layout succeeds on five decisions, in order:
- Pick your bays — half-and-half or full conversion.
- Measure to the lowest obstruction before buying any rack.
- Rack on the back wall, cardio by the door, center lane open.
- Floor: stall mats now, platform when you deadlift. Walls: everything else.
- Insulate the door and buy the fan — climate, not space, is what ends garage gym habits.
Get those right and a 2-car garage is not a compromise gym. It is more training space than most people have ever had access to, twenty steps from the kitchen.
Pick the rack before you commit to a layout. Its footprint and required clearances drive everything else in the room. The best budget power racks compares the affordable options — plus the cheapest tier to skip even if one turns up free on Marketplace.
Training through winter? How to Heat a Garage Gym Without Blowing a Breaker — leave a wall free for a mounted heater, and check your circuit before you shop.
Before you plan around the car: The Garage Gym Gap — the numbers say a garage gym is a parking decision, not a space decision. Give up one space and the problem disappears entirely.
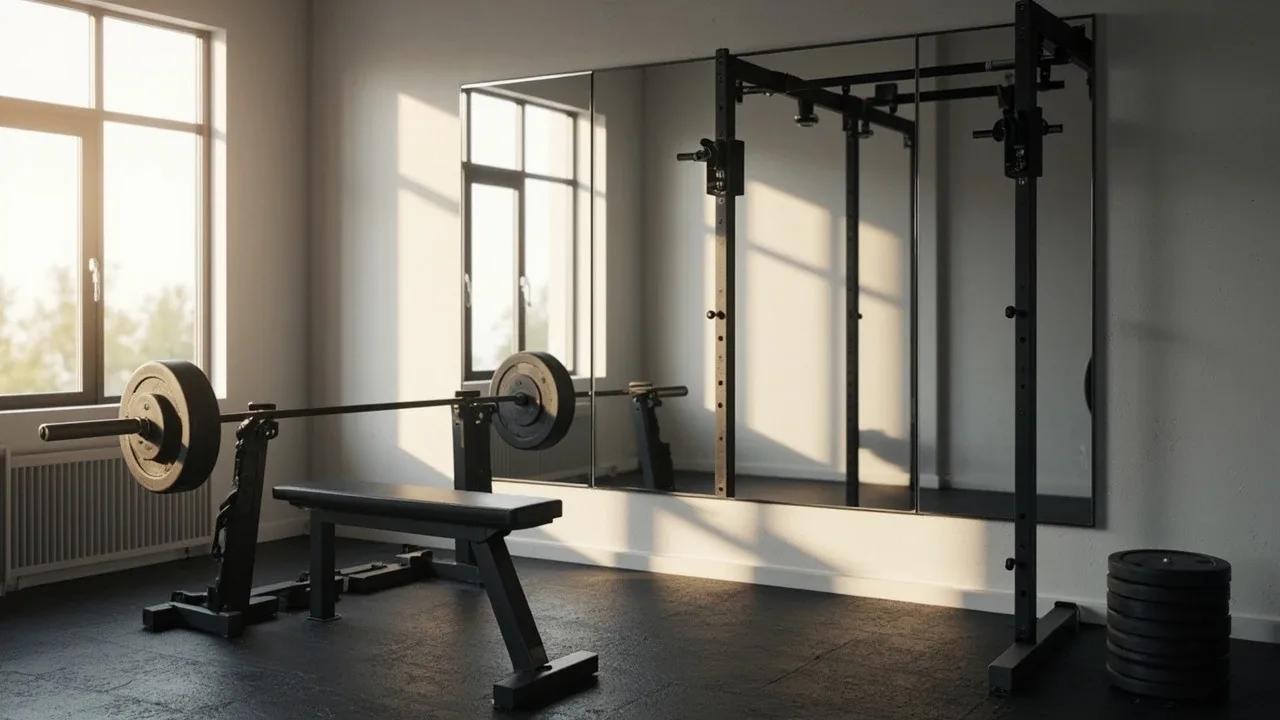
Mirrors in a garage? Home Gym Mirrors: What Size, How High, What It Costs — condensation, masonry walls, and thermal movement all change the install, plus where the glass must not go.